Thursday, August 18, 2011

Buddleia Spoons

We cut back a Buddleia in the garden and I thought I would try carving some spoons from the largest offcut. The wood split nicely and I managed to make five different spoons. 

It was nice to carve and takes a very smooth finish.

Tools used, froe, axe and knife.

Wednesday, June 29, 2011

Two bowls

Two bowls

Two bowls sitting on silver birch
Walking in my local nature reserve I noticed a silver birch being taken down so I had a chat with the warden and he kindly allowed me to take a branch away.
A week or so later I gathered some tools, froe, axe, large knife and a spoon knife and started work on two bowls.

  
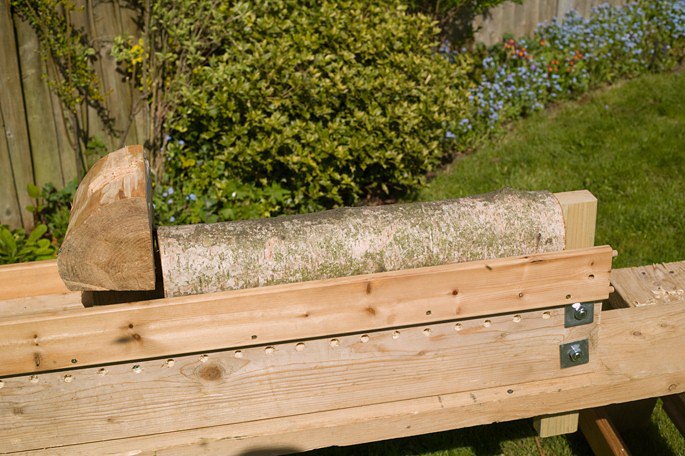
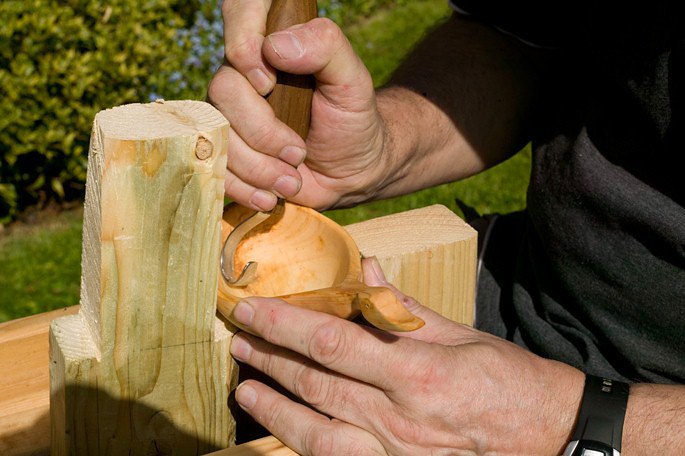
The first step is to split the log into two halves and then start carving with the axe, the axe is used to quickly remove wood and rough out the intended shape. The shape is then refined with the large knife and the spoon knife is used to hollow the bowl.

Although the wood was split into two very similar halves the carving produced two very different bowls, the shape, thickness and curvature comes from working with the wood and not against it.


Saturday, May 7, 2011

Green wood furniture

The issue I have with tendonitis is still making carving difficult so I am using my woodworking time in different ways. A visit to my local wood with some friends and excellent green wood workers gave me the opportunity to try making some furniture for my garden workshop.

I decided to make a bench which looks easy but of course is not. Two of my friends were making planks from an oak tree using a chainsaw milling technique and they were kind enough to give me a large plank.
The first step was to cut the plank to a sensible size for a bench which was easy enough. I then found a chestnut log which I split into four lengthways and used a drawknife to reduce the ends of the legs to a one in section.

Back to the plank and the tricky bit was next, a hole needed to be drilled at each corner, at an angle that allowed the legs to splay in two directions. A chat with friend Will (who knows everything) and I was measuring and marking up the angles. Then to the drilling, I concentrated on one angle while Will used a sliding bevel to guide me on the other angle. Drilling was done with a brace and bit, a little effort and the holes were ready for the legs.


Making the bench left some offcuts so I made a chair, same principle but with the addition of a back fitted loose with a mortice and tenon.


I do still have to run a spokeshave around the edges, shape the back and obviously cut out a heart shape in the back :-)


Saturday, April 16, 2011

Mocotaugan style knife

Tendonitis in my elbow caused by too much carving is stopping me carving the bigger projects so what to do instead?

Duncan at Dorset Woodland Blades recently made me a pair of curved blades for working bowls and other deep objects, it would be nice to try something new when I make the handles for these. Note one blade is left handed the other is right handed.


This would be an ideal smaller project that will allow me to try my new bowl horse on a very small item The bowl horse performed very well giving my gripping hand a rest and keeping the wood steady.


The Mocotaugan blade is usually less curved but I thought that the bent handle would design would suit my blades. The Mocotaugan can trace it's history back to flint bladed knives in the stone age.


So here is my take on the Mocotaugan.


This was an interesting project and maybe I will do more of this type of carving one day :-)

For more on the Mocotaugan see, http://www.mocotauganthebook.com/


Monday, April 11, 2011

Bowl horse

A local builder had some scrap wood that I could have if I wanted it...


The wood was perfect for a plan that I have had for a while, I have recently picked up tendonitis from over gripping the work, that I carve, in my hand.

The tendonitis has cut back my carving time so I was looking for a solution, something that would hold wood. Being demanding I wanted something that would hold large pieces of wood for draw knifing and also hold small bits of wood for carving, a big ask.

When browsing the web I spotted a device that seemed as if it would do what I wanted, the device is on David Fishers web site, David is maker of wonderful carved bowls. I emailed David for advice and he very kindly sent me full set of plans (now on his blog, link at the bottom of this post).

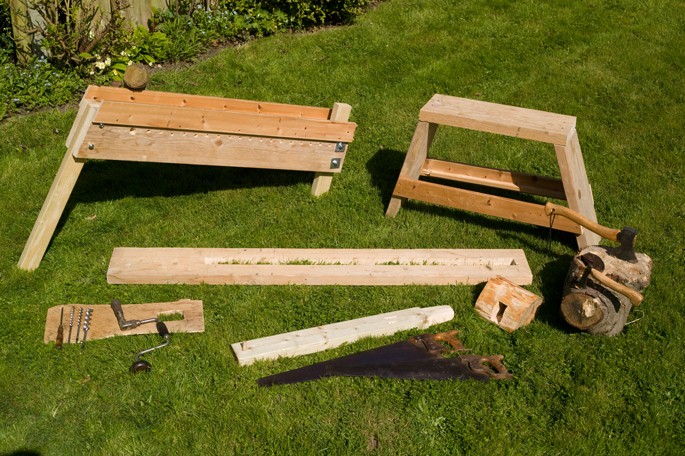
The timber that I had was not the correct size, I did not have the larger planks, so I made a few adjustments and the sawed, drilled, chiseled, drilled some more, bolted, drilled some more and soon had a kit of parts that could be put together or taken apart for loading into the car.

Bowl horse with the tools used


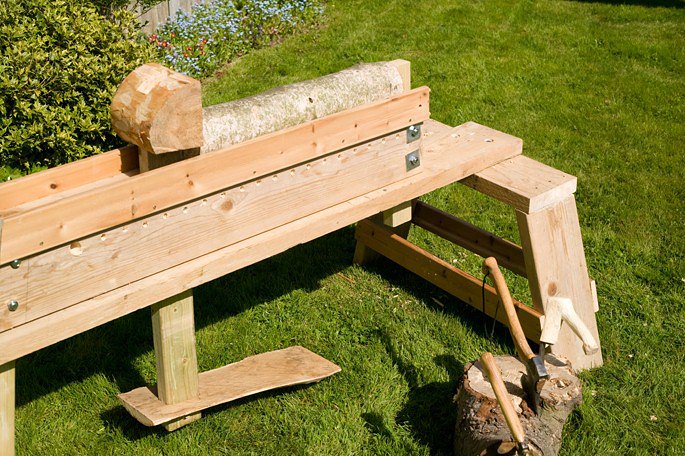
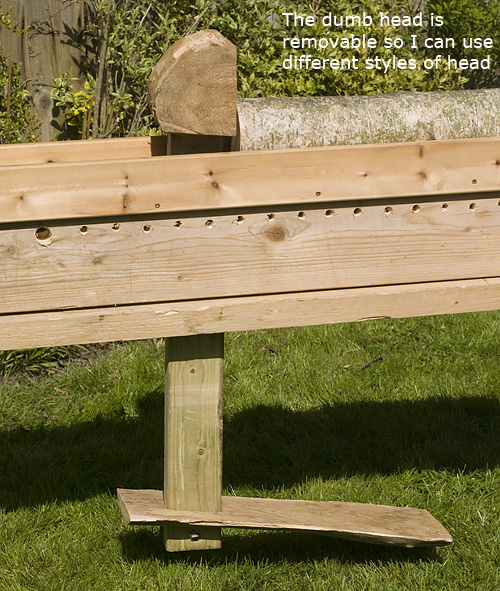
note the row of drilled holes, the swing arm can be adjusted along those holes (green arrows) using a bolt, if adjusted to a small peice of wood I turn the swing arm and dumb head around as the foot plate would get in the way.


 Longish log in place for drawknifing


The swing arm moved close to the seat and the dumbhead removed, a small block raises the bowl for carving.


even closer for fine carving


I plan to design a number of different shaped dumb head blocks for different shaped carvings.

I recommend David Fisher's web site http://www.davidfisher.com/ a great carver and a generous man.

If you see a duck shaped piece of birch

Hi all


If you see a duck shaped piece of birch it is only to polite to carve it out...


Weekend in the woods, coppicing.

Working with wood inevitably brings an interest in the raw material in all it's variety, as part of my interest I find myself looking for opportunities to meet wood workers in a variety of disciplines.

I was very pleased to be invited to a coppicing weekend at a private wood. The wood is owned by people who make high quality chairs using traditional methods including pole lathes. There was a mix of experienced people at the weekend with a variety of skills (chair making, carving, pole lathing) and I hoped to learn some of their basic wood working techniques.

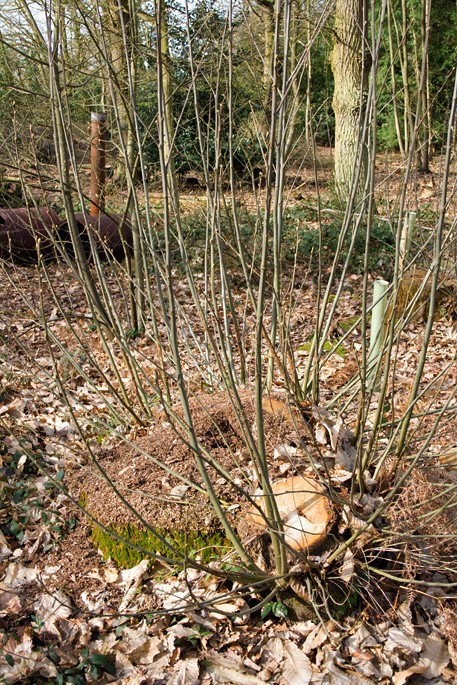
Coppicing is the process of cutting trees but leaving a stump and then allowing each stump to generate a number of new stems. The new growth continues for a number of years (depending on intended use) until the wood reaches the desired size and then it is harvested.  This weekend we were harvesting wood on previously coppiced trees

Some of the uses of coppiced wood are ship building, construction, tool handles furniture, baskets and many, many uses in between. Woodland has been coppiced for centuries and would be coppiced in a rotational sequence offering different stages of regeneration within the woodland.
I arrived at the woods to be met by a very pleasant bunch of people, they had a workshop and a kitchen making up the social area, food throughout the weekend was wonderful as was the company.


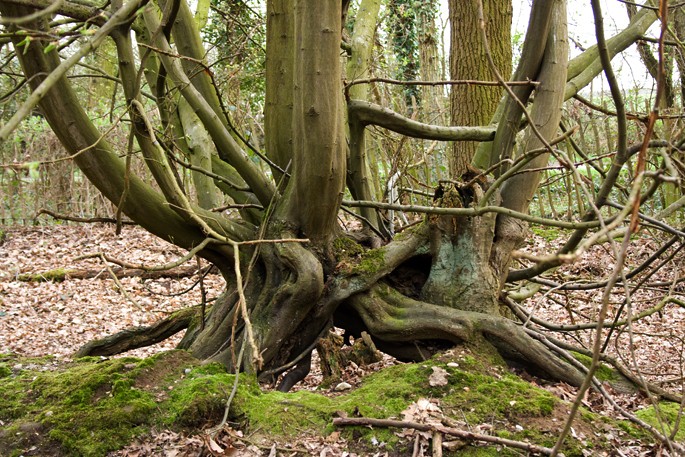
The next two images show previously coppiced stumps with new growth


This hornbeam was coppiced many years ago and has formed some wonderfully shaped new growth.


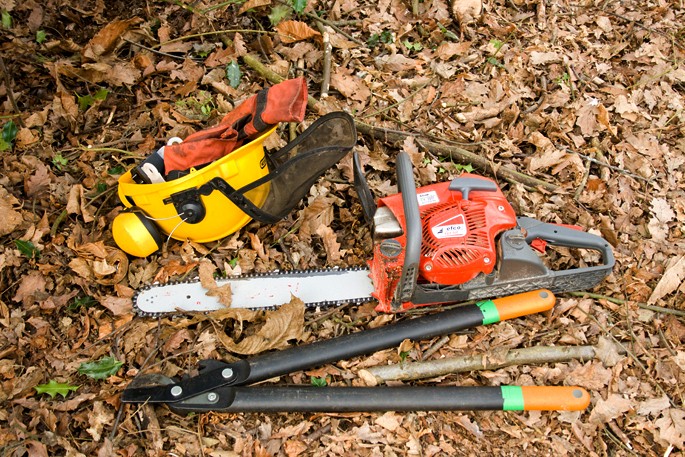
There were a number of chain saws being used to fell large boughs so the camera was put away so that I could pay attention to falling timber.


Once felled the new growth was cut in to usable lengths, the fitter of us using muscle not petrol.


Not every one was working hard as the wood was sorted and stacked.


  fresh cut stumps.


The sweet sap makes a feast for these ants.


The stumps are covered by brush as a defence for the new growth against deer.


The finished logs are stacked ready for use.


After a day of physical effort lifting heavy logs it was back to the social area for food and chat. Listening to people who have learned their skills over many years is very educational and I learned a huge amount about wood and working with it.


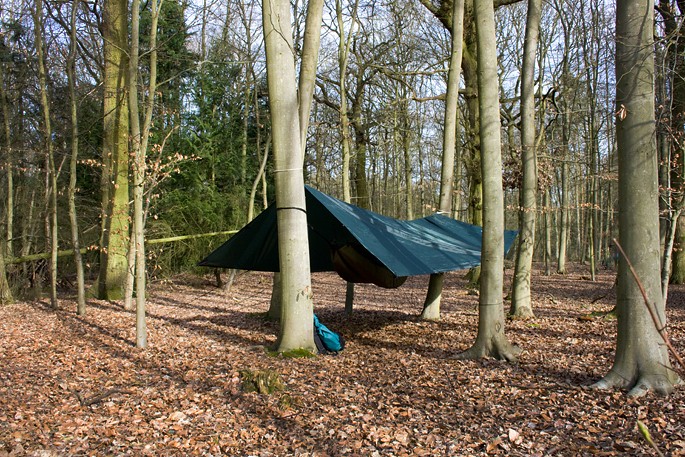
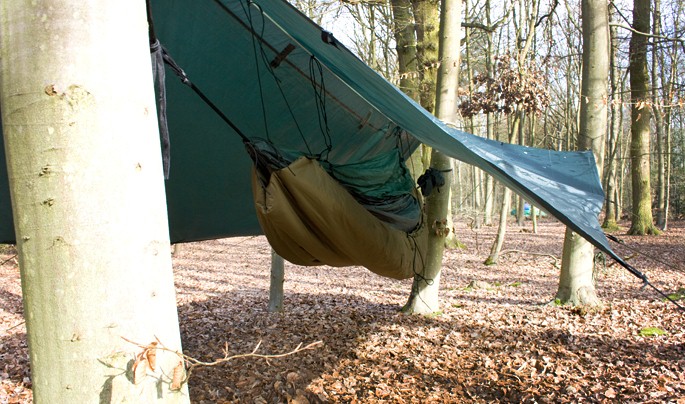
At the end of a wonderful evening it was off to bed... well hammock. The hammock is amazingly comfortable and offers early morning views of the wood and and it's creatures starting a new day in the sunrise.

I ate a tasty cooked breakfast and then another day of the same, work in the sunshine and the beautiful woodland... wonderful