Monday, April 11, 2011

Bowl horse

A local builder had some scrap wood that I could have if I wanted it...


The wood was perfect for a plan that I have had for a while, I have recently picked up tendonitis from over gripping the work, that I carve, in my hand.

The tendonitis has cut back my carving time so I was looking for a solution, something that would hold wood. Being demanding I wanted something that would hold large pieces of wood for draw knifing and also hold small bits of wood for carving, a big ask.

When browsing the web I spotted a device that seemed as if it would do what I wanted, the device is on David Fishers web site, David is maker of wonderful carved bowls. I emailed David for advice and he very kindly sent me full set of plans (now on his blog, link at the bottom of this post).

The timber that I had was not the correct size, I did not have the larger planks, so I made a few adjustments and the sawed, drilled, chiseled, drilled some more, bolted, drilled some more and soon had a kit of parts that could be put together or taken apart for loading into the car.

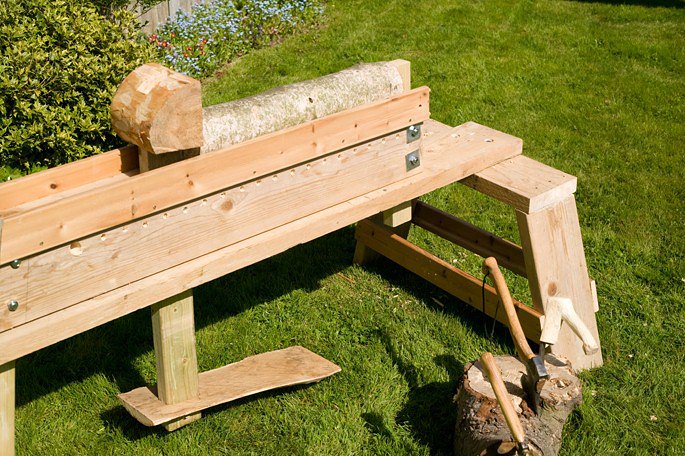
Bowl horse with the tools used
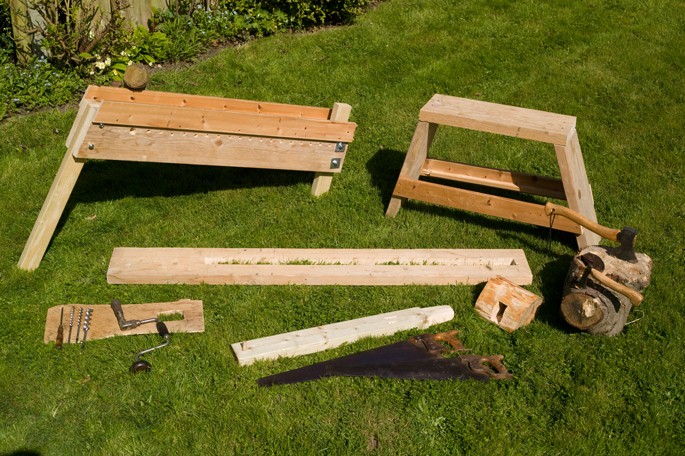

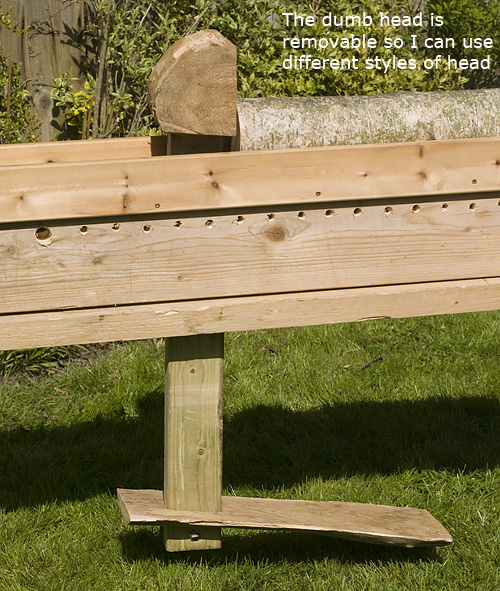
note the row of drilled holes, the swing arm can be adjusted along those holes (green arrows) using a bolt, if adjusted to a small peice of wood I turn the swing arm and dumb head around as the foot plate would get in the way.


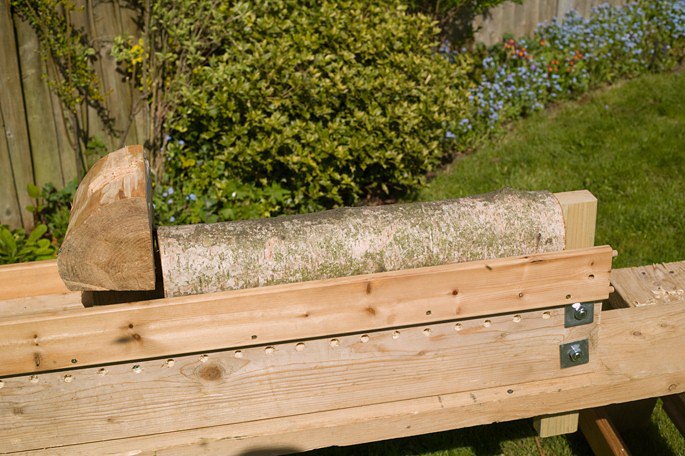
 Longish log in place for drawknifing


The swing arm moved close to the seat and the dumbhead removed, a small block raises the bowl for carving.
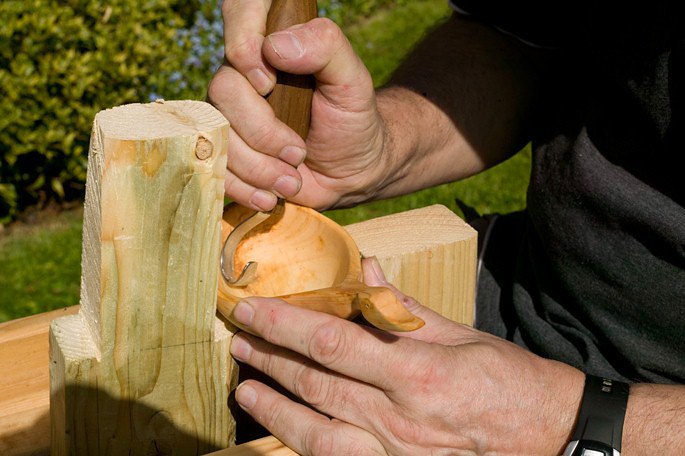


even closer for fine carving


I plan to design a number of different shaped dumb head blocks for different shaped carvings.

I recommend David Fisher's web site http://www.davidfisher.com/ a great carver and a generous man.

If you see a duck shaped piece of birch

Hi all


If you see a duck shaped piece of birch it is only to polite to carve it out...


Weekend in the woods, coppicing.

Working with wood inevitably brings an interest in the raw material in all it's variety, as part of my interest I find myself looking for opportunities to meet wood workers in a variety of disciplines.

I was very pleased to be invited to a coppicing weekend at a private wood. The wood is owned by people who make high quality chairs using traditional methods including pole lathes. There was a mix of experienced people at the weekend with a variety of skills (chair making, carving, pole lathing) and I hoped to learn some of their basic wood working techniques.

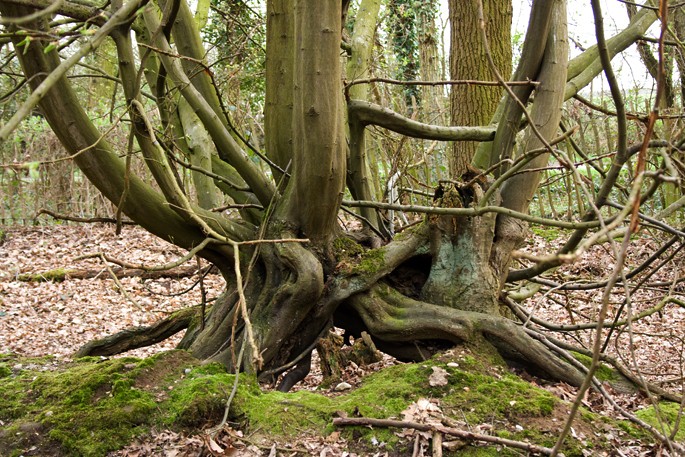
Coppicing is the process of cutting trees but leaving a stump and then allowing each stump to generate a number of new stems. The new growth continues for a number of years (depending on intended use) until the wood reaches the desired size and then it is harvested.  This weekend we were harvesting wood on previously coppiced trees

Some of the uses of coppiced wood are ship building, construction, tool handles furniture, baskets and many, many uses in between. Woodland has been coppiced for centuries and would be coppiced in a rotational sequence offering different stages of regeneration within the woodland.

I arrived at the woods to be met by a very pleasant bunch of people, they had a workshop and a kitchen making up the social area, food throughout the weekend was wonderful as was the company.


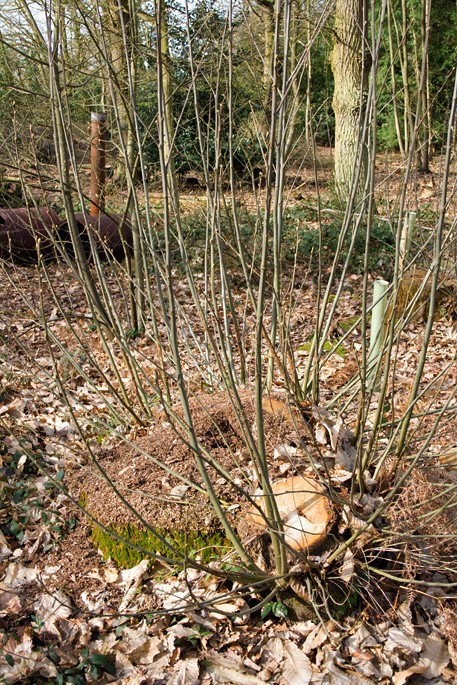
The next two images show previously coppiced stumps with new growth


This hornbeam was coppiced many years ago and has formed some wonderfully shaped new growth.


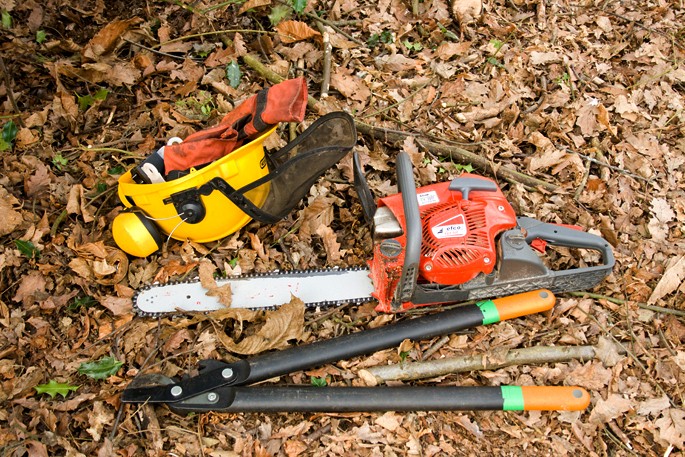
There were a number of chain saws being used to fell large boughs so the camera was put away so that I could pay attention to falling timber.


Once felled the new growth was cut in to usable lengths, the fitter of us using muscle not petrol.


Not every one was working hard as the wood was sorted and stacked.


  fresh cut stumps.


The sweet sap makes a feast for these ants.


The stumps are covered by brush as a defence for the new growth against deer.


The finished logs are stacked ready for use.


After a day of physical effort lifting heavy logs it was back to the social area for food and chat. Listening to people who have learned their skills over many years is very educational and I learned a huge amount about wood and working with it.


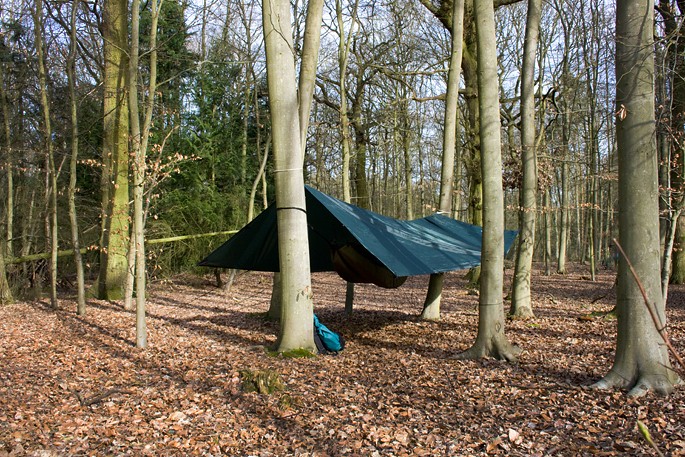
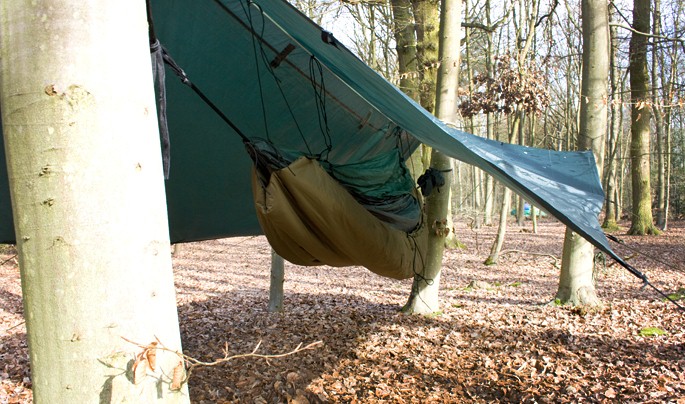
At the end of a wonderful evening it was off to bed... well hammock. The hammock is amazingly comfortable and offers early morning views of the wood and and it's creatures starting a new day in the sunrise.

I ate a tasty cooked breakfast and then another day of the same, work in the sunshine and the beautiful woodland... wonderful

Tuesday, March 15, 2011

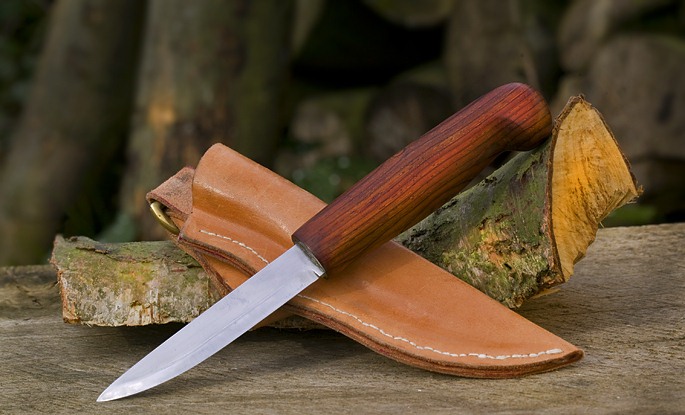
A Puukko woodcraft knife

In the previous post I made a knife by forging the blade under the instruction of James in his workshop. James Wood invited me back to make a Puukko. A Puukko is a traditional Scandinavian style woodcraft knife that is a very useful tool.

The method we used for making this knife is to take a piece of scrap steel, from a leaf spring for instance, cut the rough blade shape with an angle grinder. Then use a belt sander to finish the shape and add the bevels ready for sharpening.

Again the process was fun and harder than it looks but it makes a great blade and James proved himself a patient teacher again. To finish the knife I used two gifts recieved from friends, a lovely piece of cocobolo tropical hardwood which I carved into a handle. The second gift was a sheet of leather, tools and the instructions on how to make a sheath for the knife, another interesting process.

After some research and a days work I had the knife finished and a sheath made for it.


Sunday, March 13, 2011

Tool making - first knife.

For me a minimum carving toolkit consists of one axe for roughing out, one bushcraft style knife for shaping and finishing and a spoon knife for carving bowls etc. These can be easily carried into woodland and used to carve while there.  But when working at home thing are different, there is a huge range of knives, spoon knives and other cutting tools available and my toolkit is slowly growing.

Because of the kindness of some local greenwood workers I have tried a large variety of tools, as I used more tools I started to appreciate the skills of the tool makers so I decided to try to make some basic tools to see how the process works.

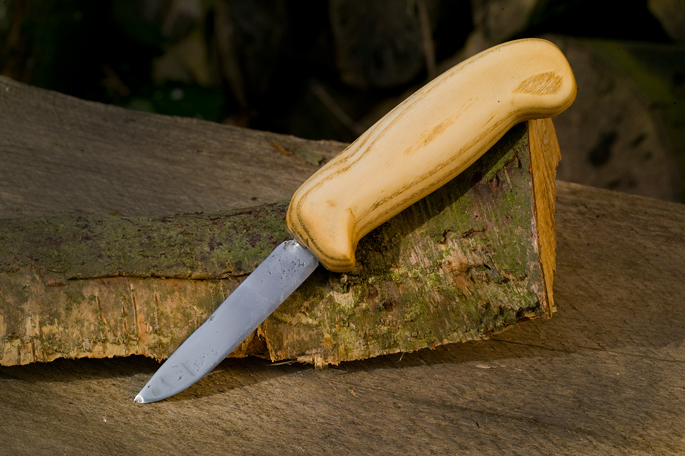
An incredibly talented young knife maker, James Wood, invited me to try his forge an invite I was very pleased to accept. His workshop was a wonderland of traditional tools and forges. James lit a forge and talked me through hammering a steel rod into a knife blade with tang, the hot physical process was very satisfying and all too soon I was finished. James proved himself a patient teacher. Looking at what I had made reinforced my admiration for his skills.


The next stage will be a lot of polishing with wet and dry paper to polish the blade and then carving some seasoned ash into a handle shape (done).  Although it is not pretty the process was both fascinating and satisfying, I hope to do more forging. The knife is very sharp and receives heavy use.


Saturday, March 12, 2011

Two tone birch spoon

One of the joys of working with natural materials is the unexpected. In the precious two posts we can see how birch looks when carved. But although I made this spoon from birch it has a two tone colour.

The colour comes from a fungus invading the wood as it starts to rot, the good news is that once worked and dried the wood remains stable and the fungus causes no problems in the future.

The darker wood here is the fungal growth


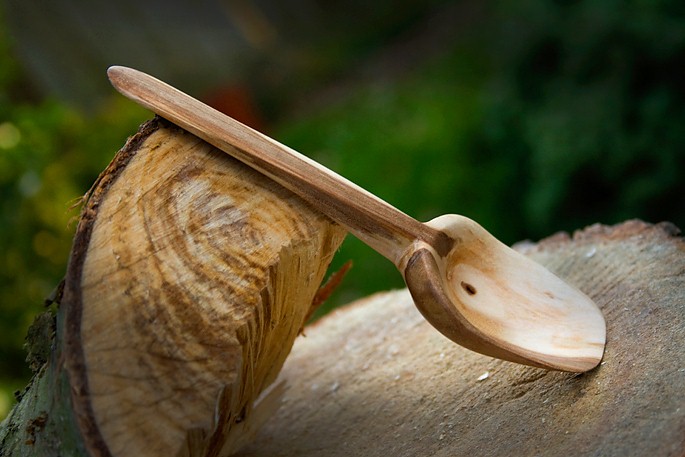
The spoon was made with a short handle for strength.


Sunday, March 6, 2011

Large Birch Kuksa

The traditional Kuksa is a style of drinking cup made by the Sami people of northern Scandinavia and is carved from Birch. 

This Kuksa is large and can hold just over a pint of liquid, I know people that use these when camping for food or drink. The two holed handle is very comfortable to hold.

Kuksa with spoon knife

Kuksa with blades used


The Bowl is 135mm x 125mm, overall length is 240mm, height is 65mm